
New Arrivals
Paper Sewing Patterns
Sold Out
Sold Out
Sold Out
Sold Out
Sold Out
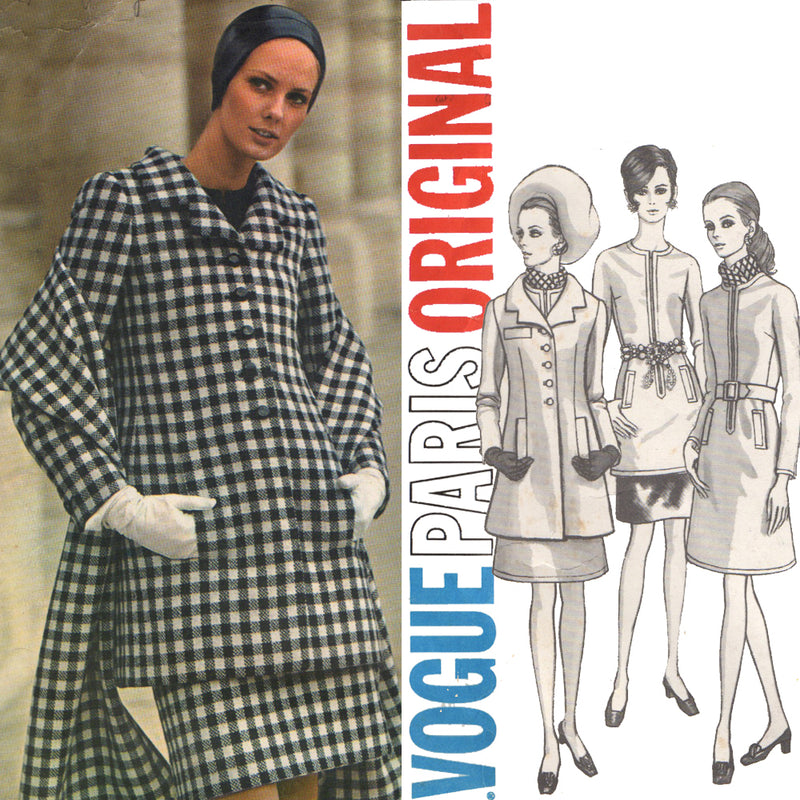
Vogue 2092 1960s Vintage Vogue Sewing Pattern: Nina Ricci Dress, Coat, Tunic, Skirt
Paper Patterns
$38.00
Sold Out
Sold Out
Sold Out
Sold Out
Sold Out

Sold Out
Sold Out
Sold Out
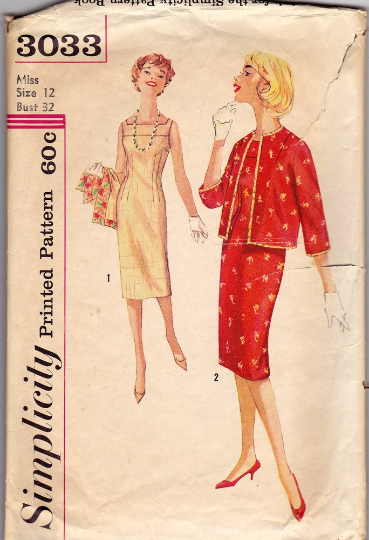
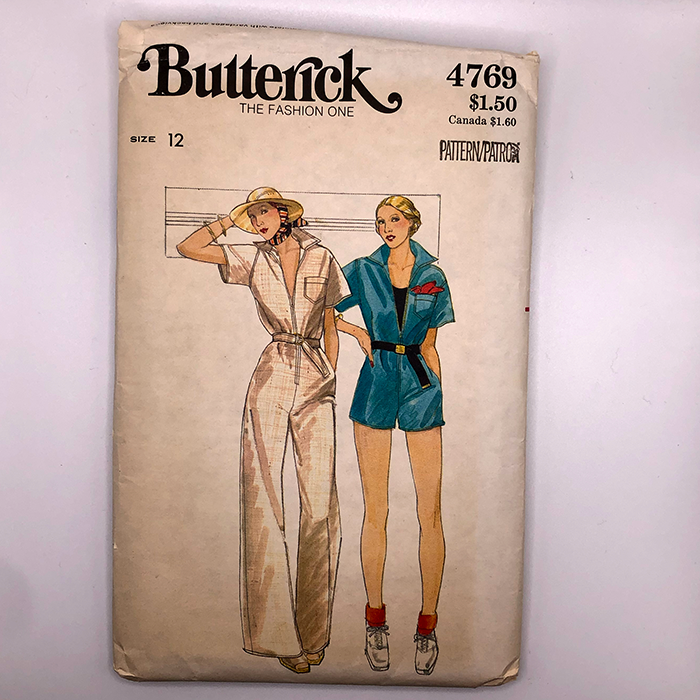
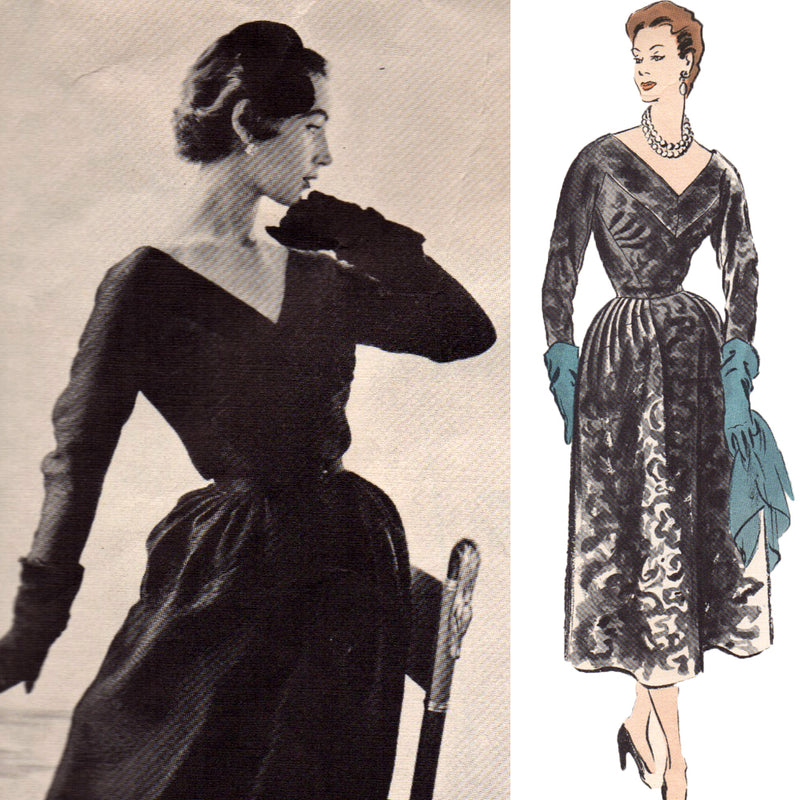
Simplicity 3033 - 1950s Dress & Jacket Vintage Sewing Pattern - 32" Bust
Genuine Vintage Patterns
$6.00

Sold Out
Sold Out


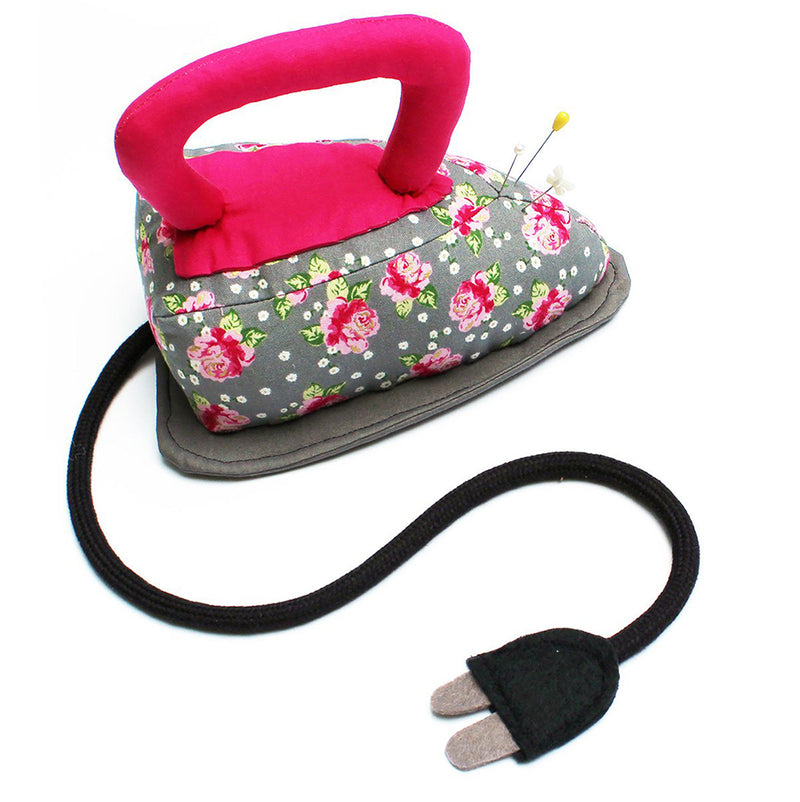
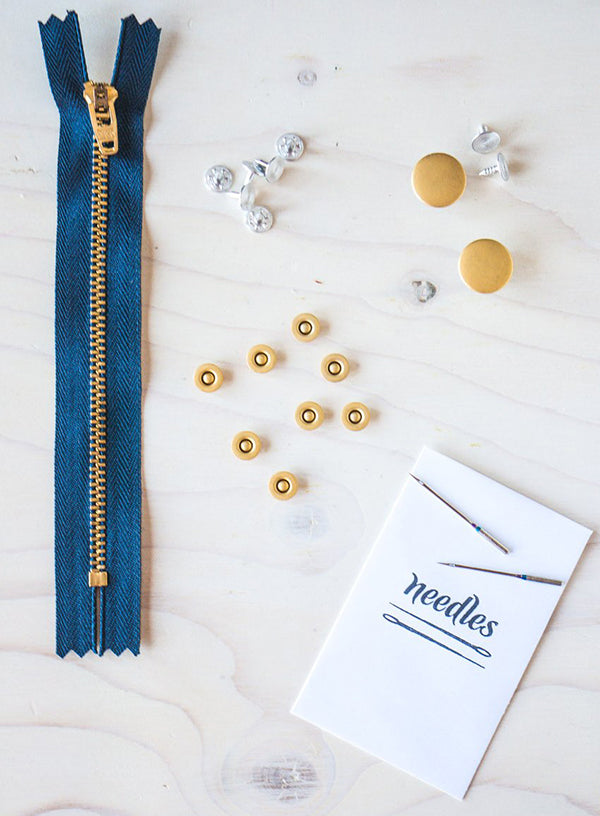
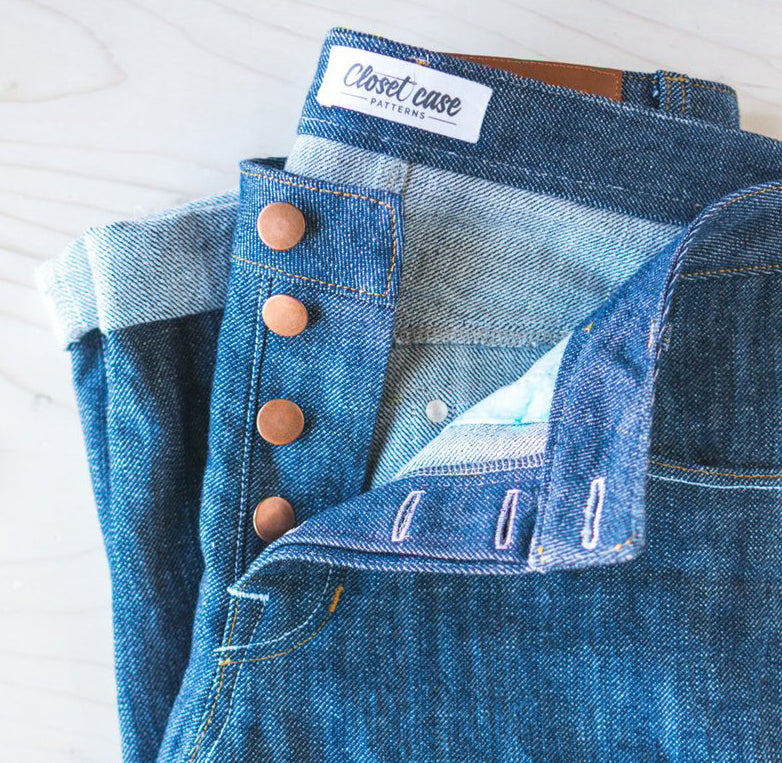
Belt Making Supplies
Sold Out
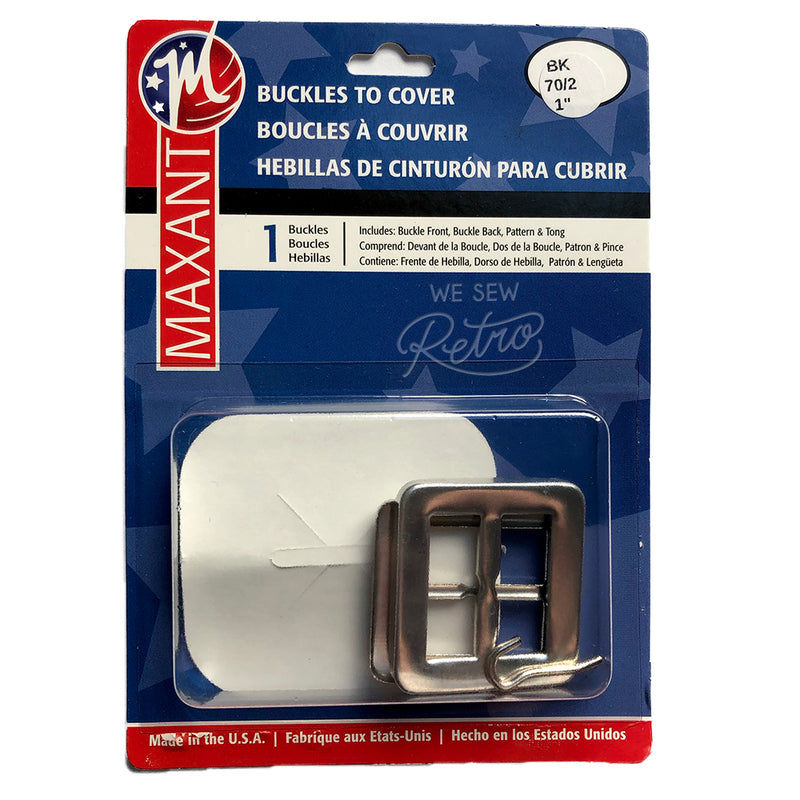
Belt Buckle Kit - 1" Buckle to Cover - Make a Matching Belt for Your Dress (BK-70/2)
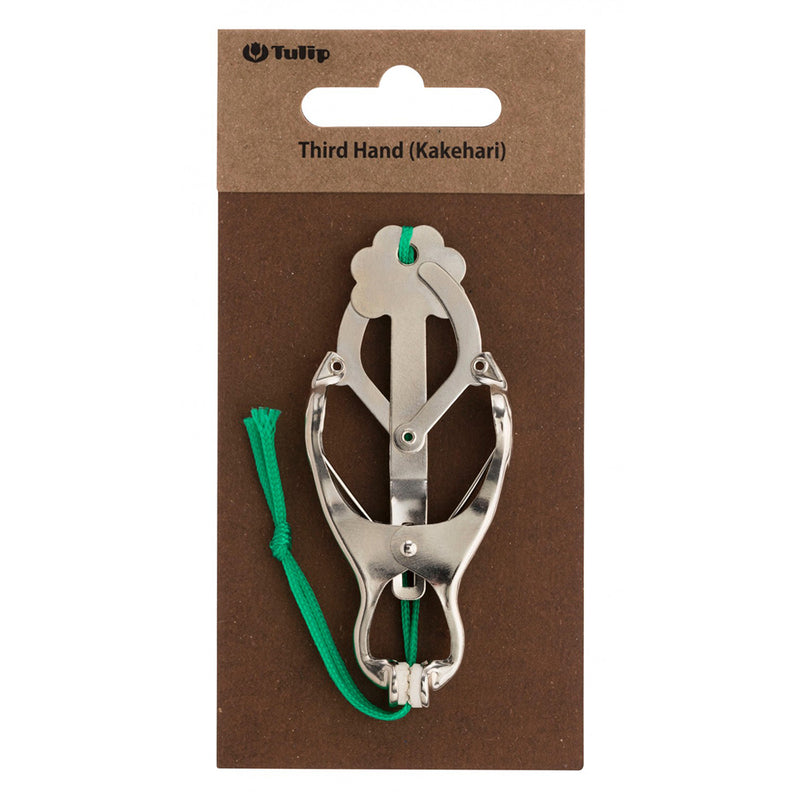
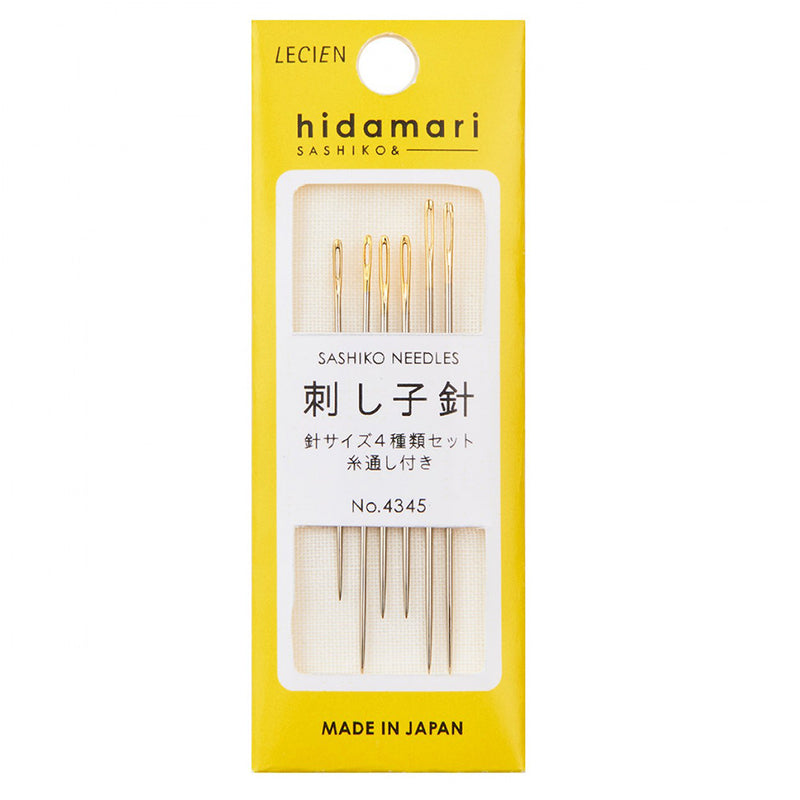
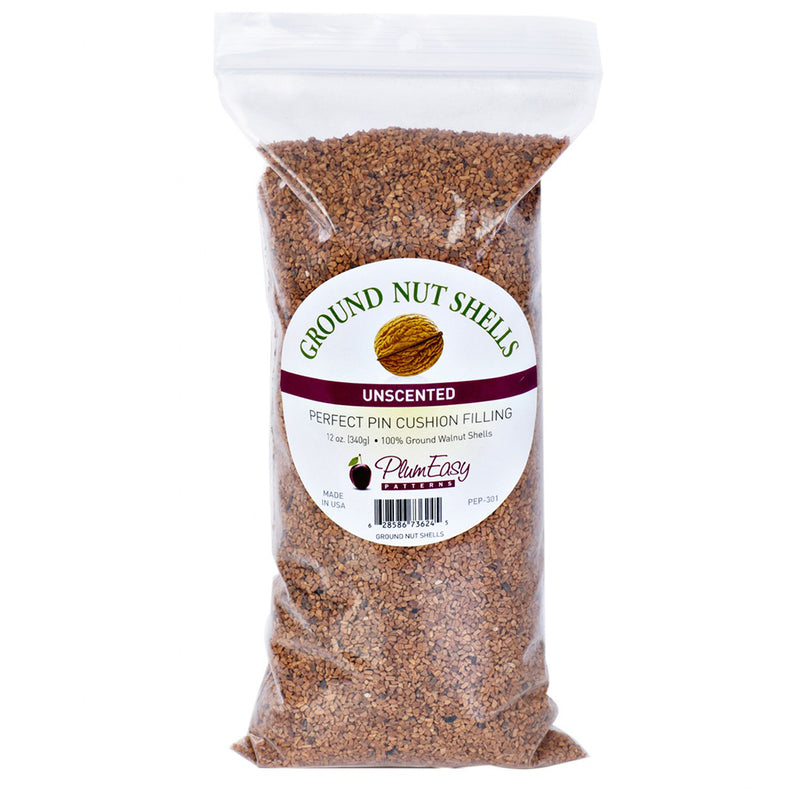
Notions & Tools
$5.95
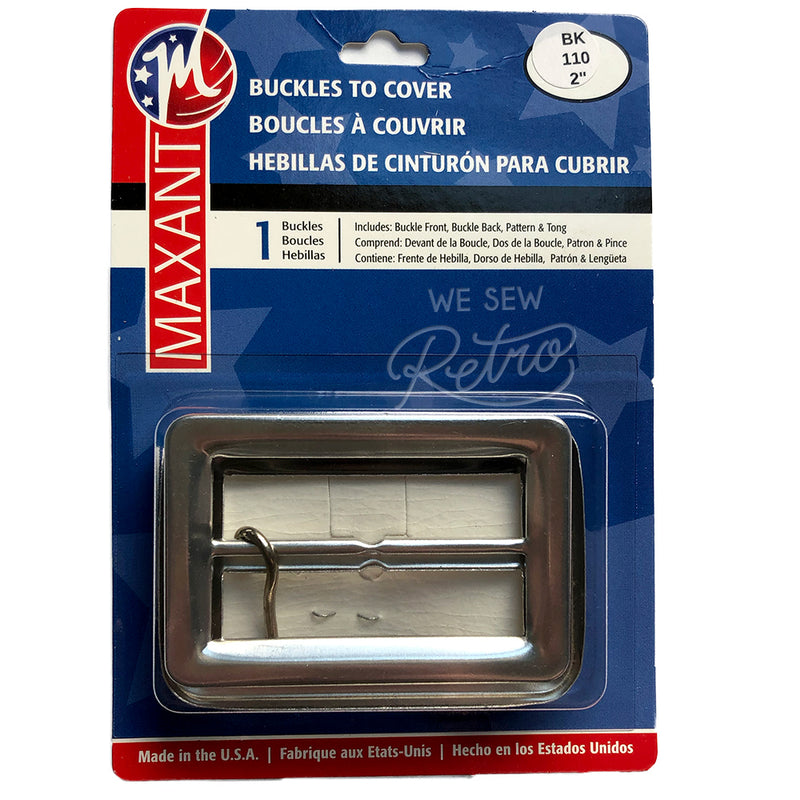
Belt Buckle Kit - 2" Buckle to Cover - Make a Matching Belt for Your Dress (BK-110)
Notions & Tools
$5.95
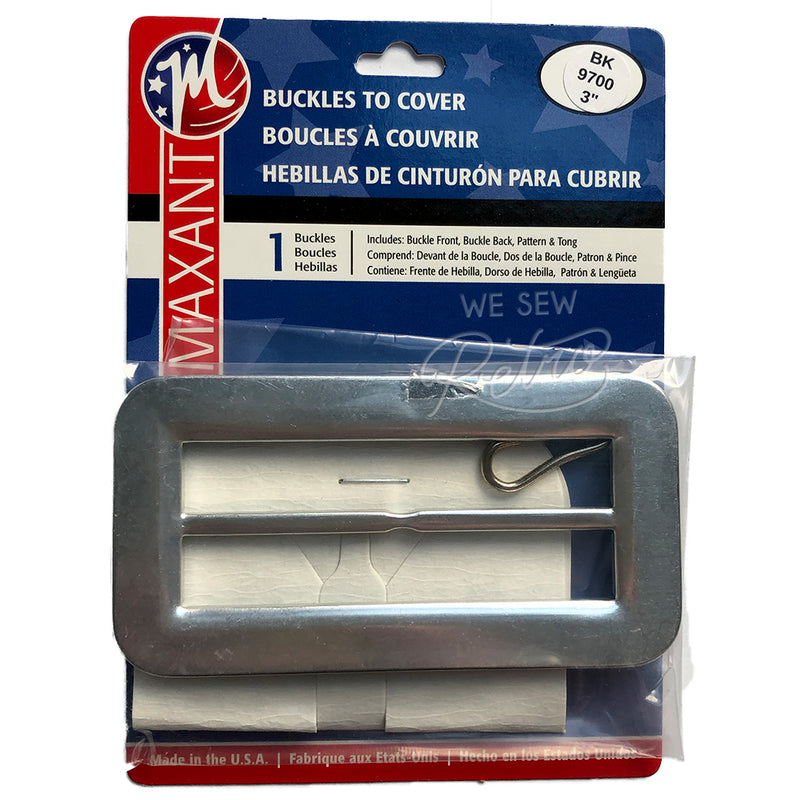
Belt Buckle Kit - 3" Buckle to Cover - Make a Matching Belt for Your Dress (BK-9700)
Notions & Tools
$5.49
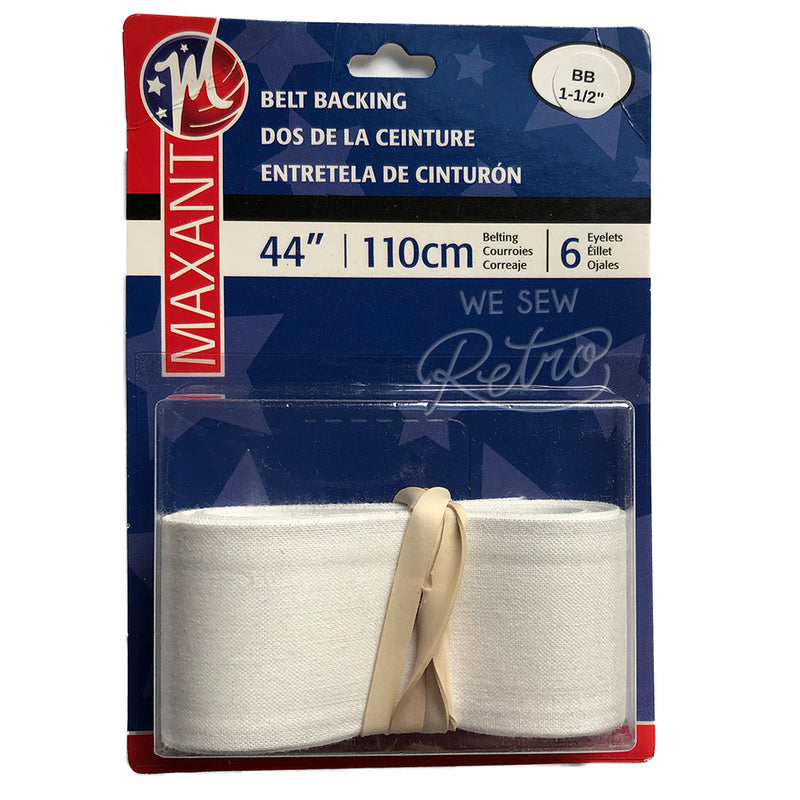
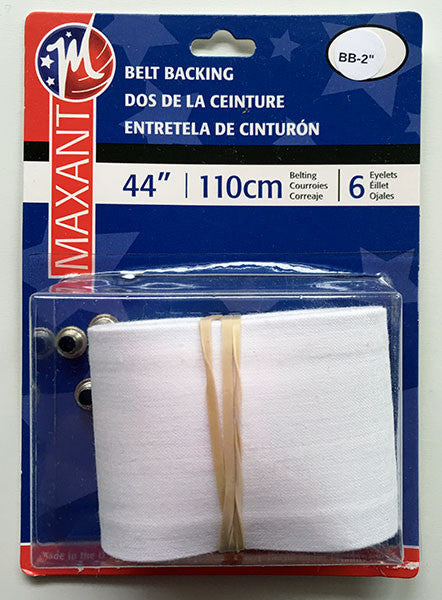
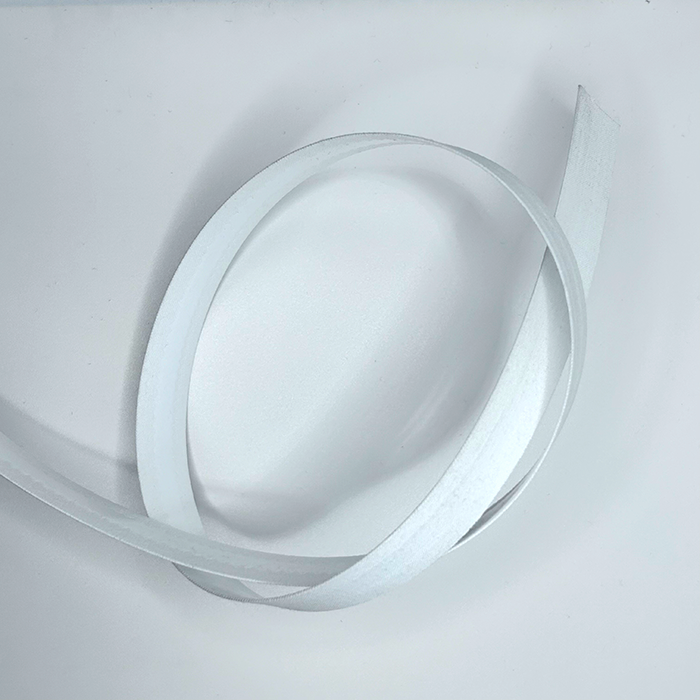
Belt Backing Kit - 2" Belting with Eyelets - Make a Matching Belt for Your Dress (BB-2)
Notions & Tools
$5.45
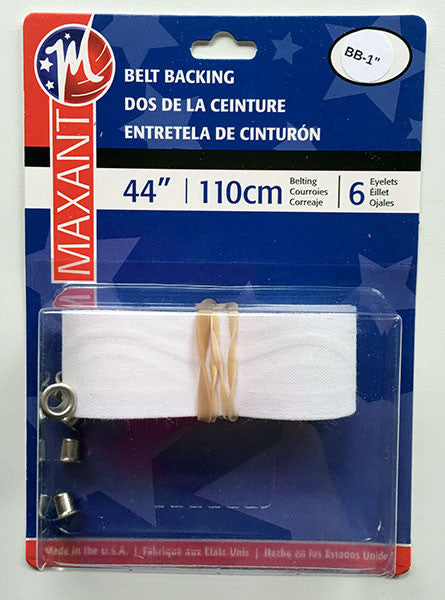
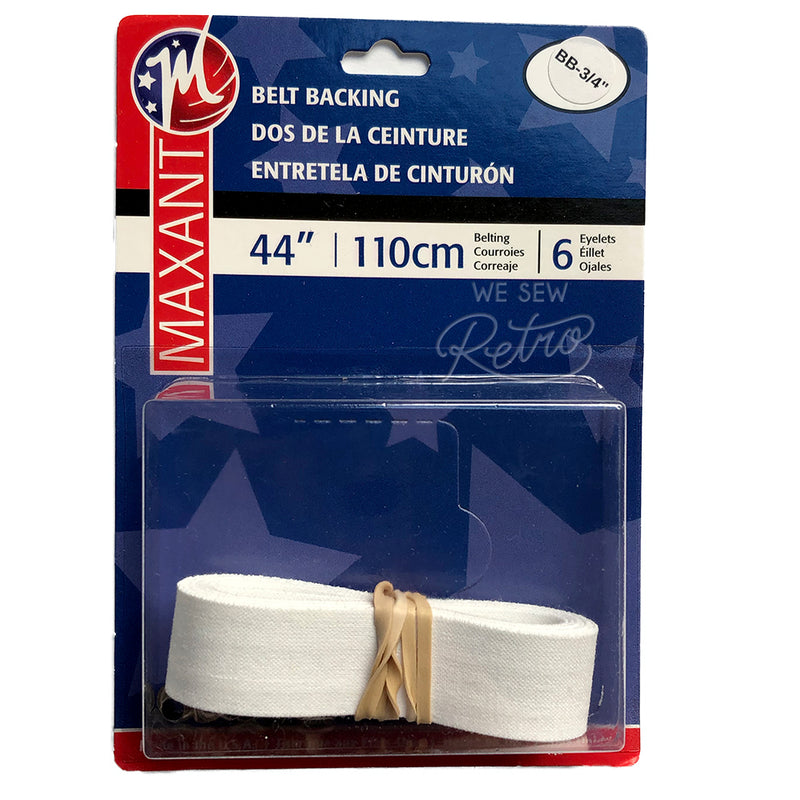
Belt Backing Kit - 1" Belting with Eyelets - Make a Matching Belt for Your Dress (BB-1)
Notions & Tools
$4.95
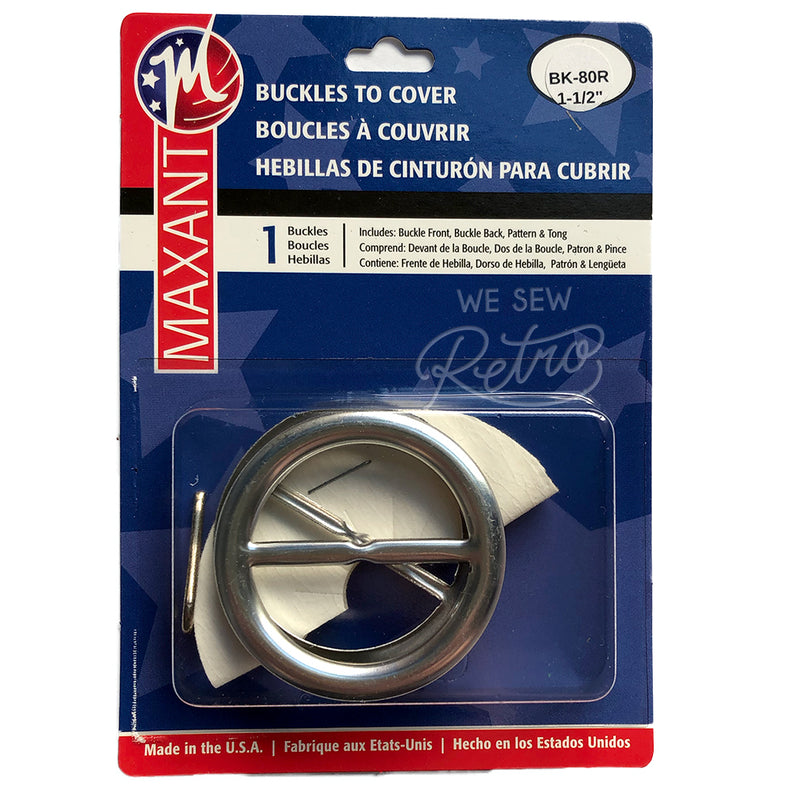
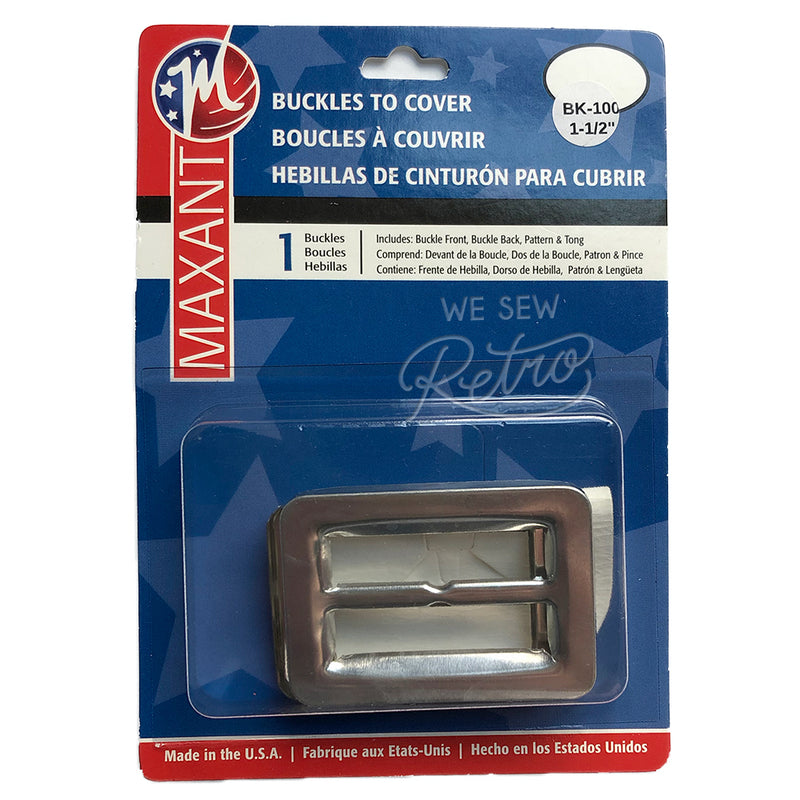
Belt Buckle Kit - 1.5" Buckle to Cover - Make a Matching Belt for Your Dress (BK-80R)
Notions & Tools
$5.49
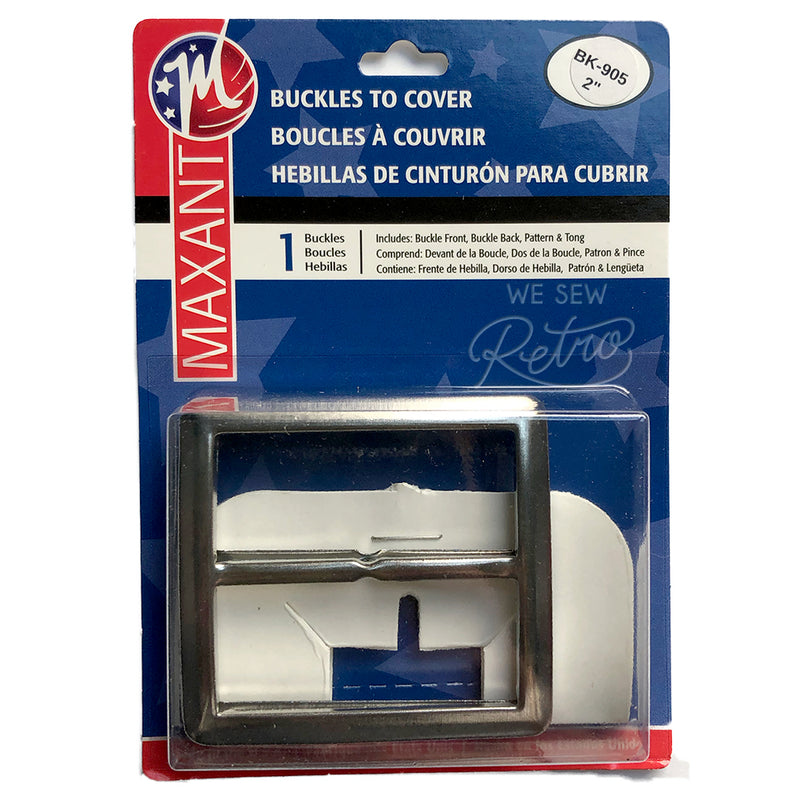
Belt Buckle Kit - 2" Buckle to Cover - Make a Matching Belt for Your Dress (BK-905)
Notions & Tools
$5.49
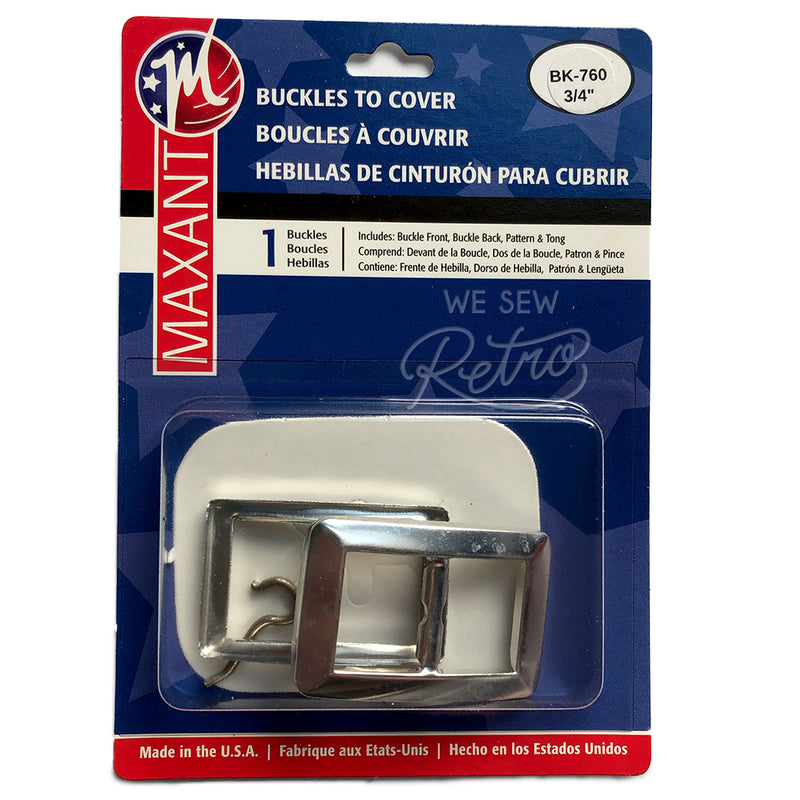
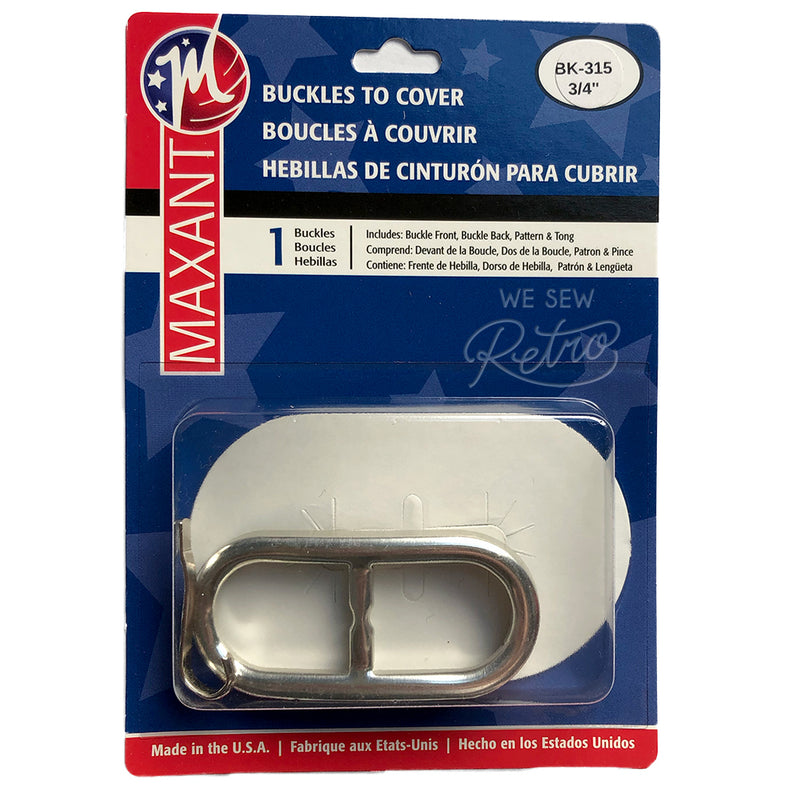
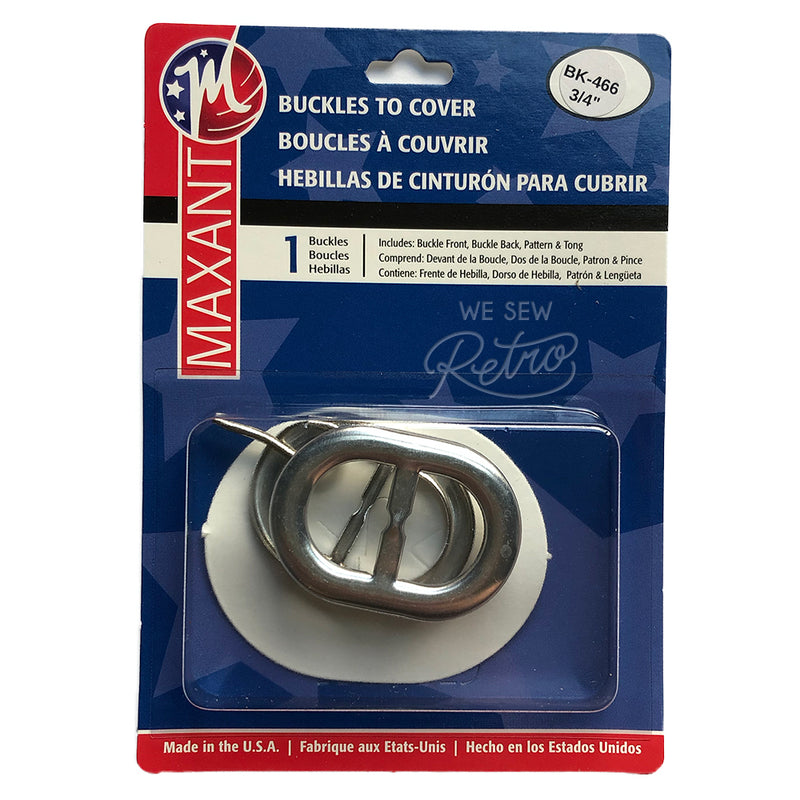
Belt Buckle Kit - 3/4" Buckle to Cover - Make a Matching Belt for Your Dress (BK-760)
Notions & Tools
$5.49
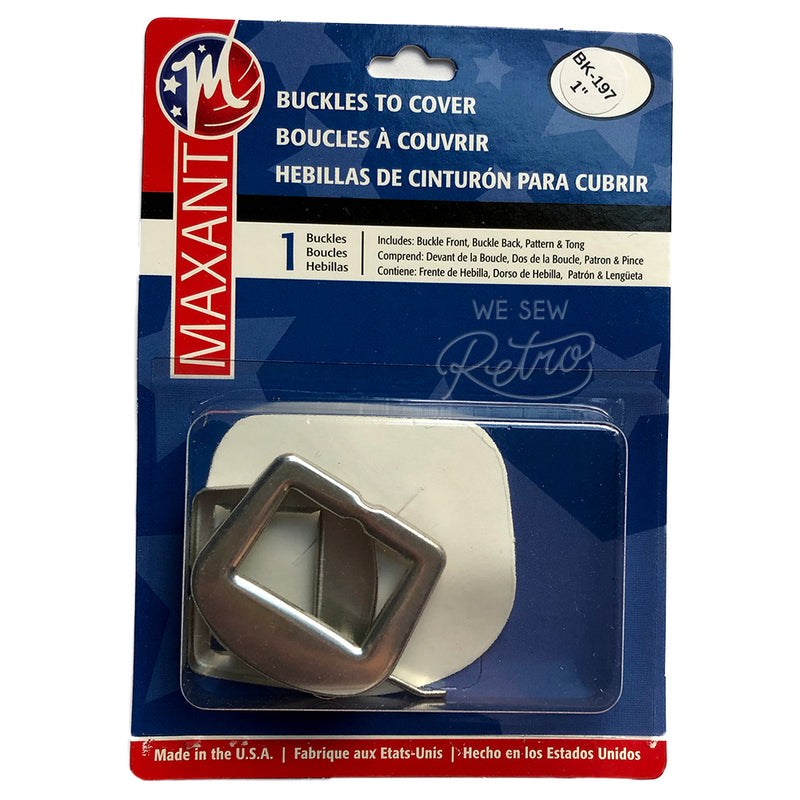
Belt Buckle Kit - 1" Buckle to Cover - Make a Matching Belt for Your Dress (BK-197)
Notions & Tools
$5.49
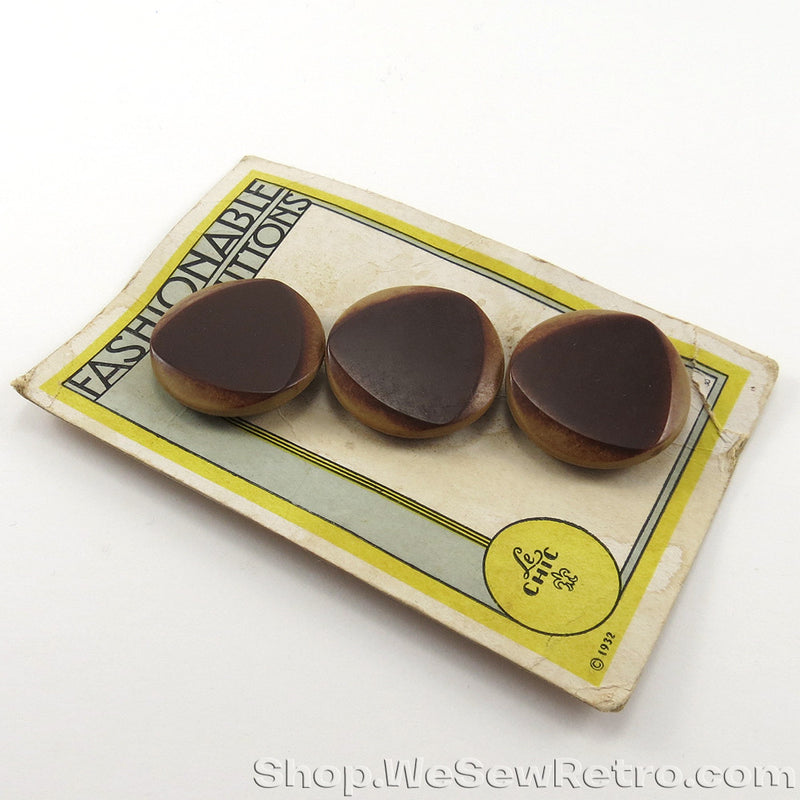
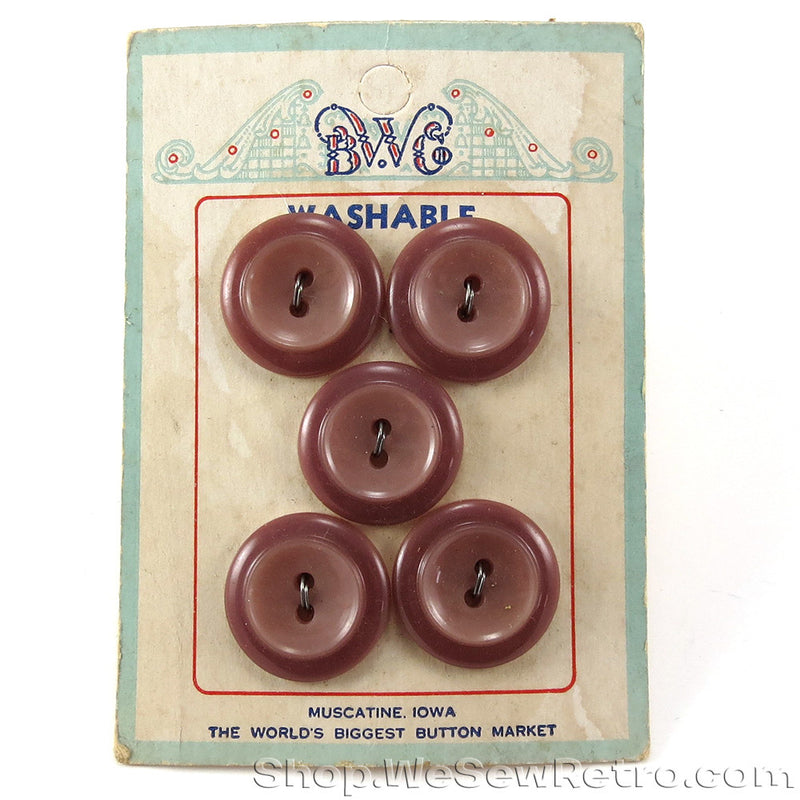
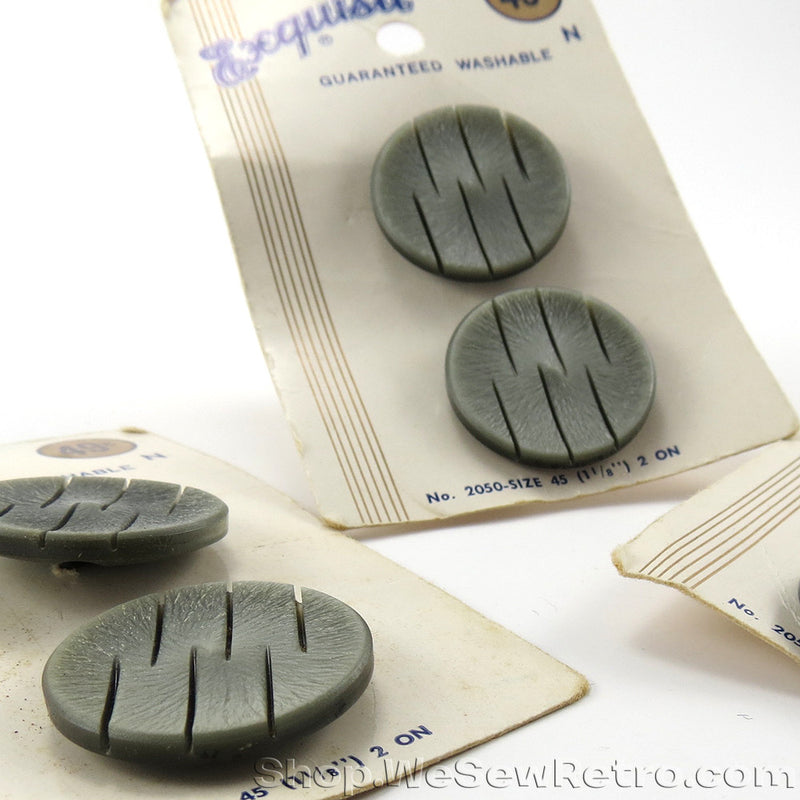
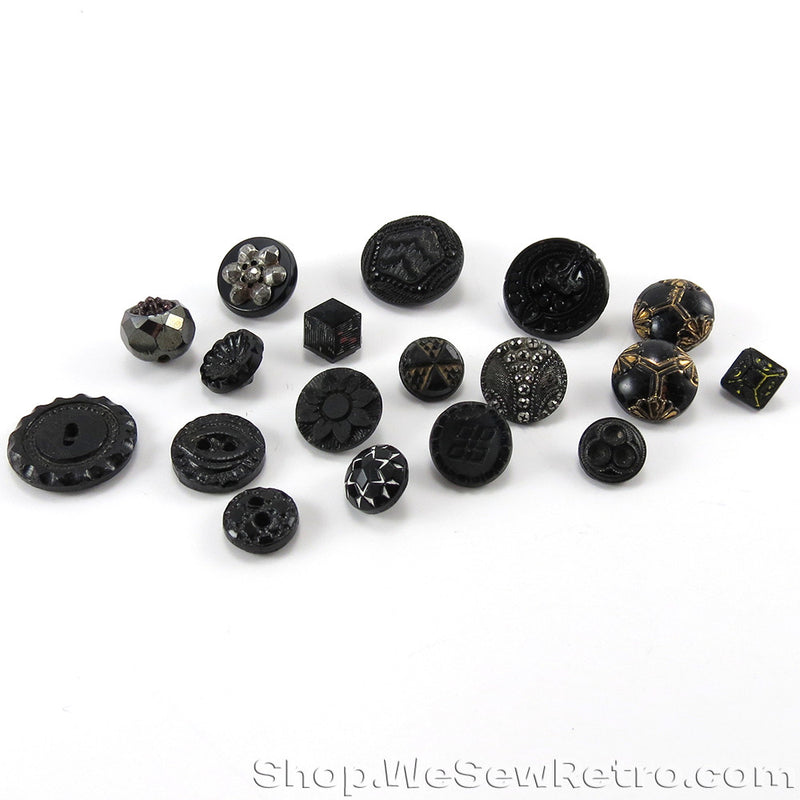
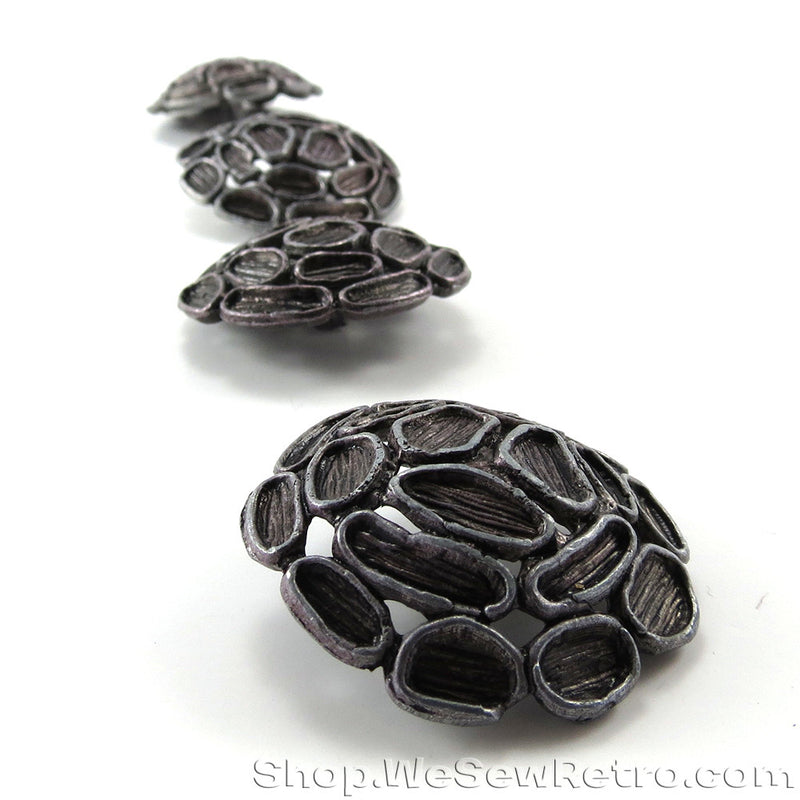
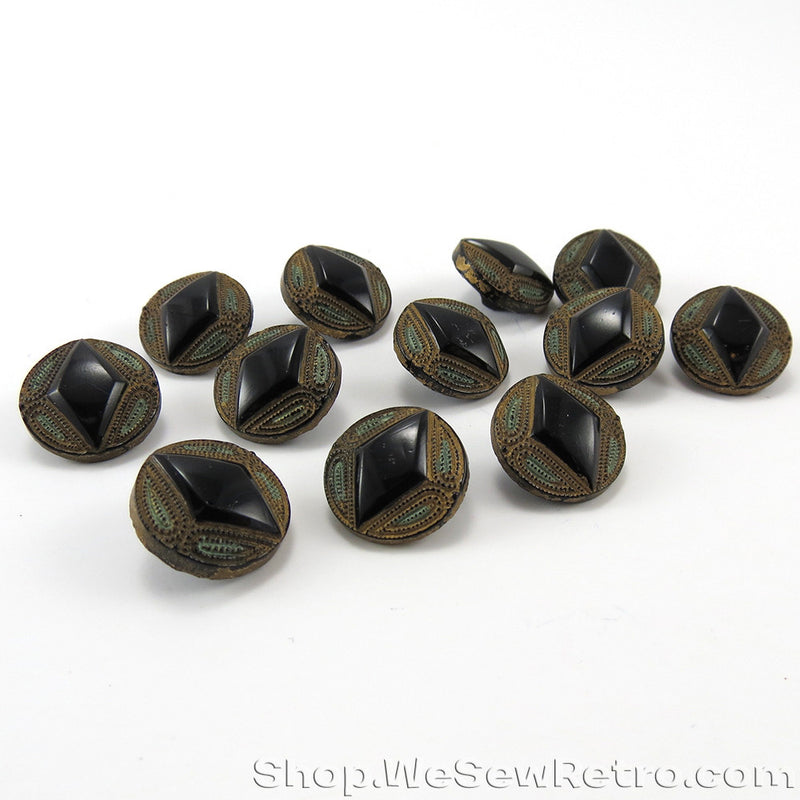
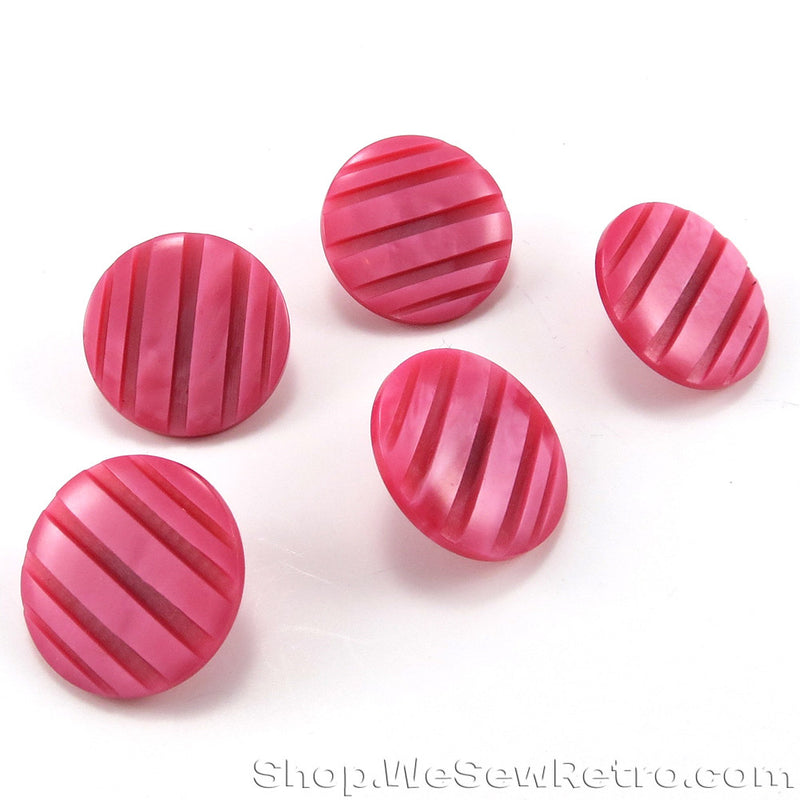
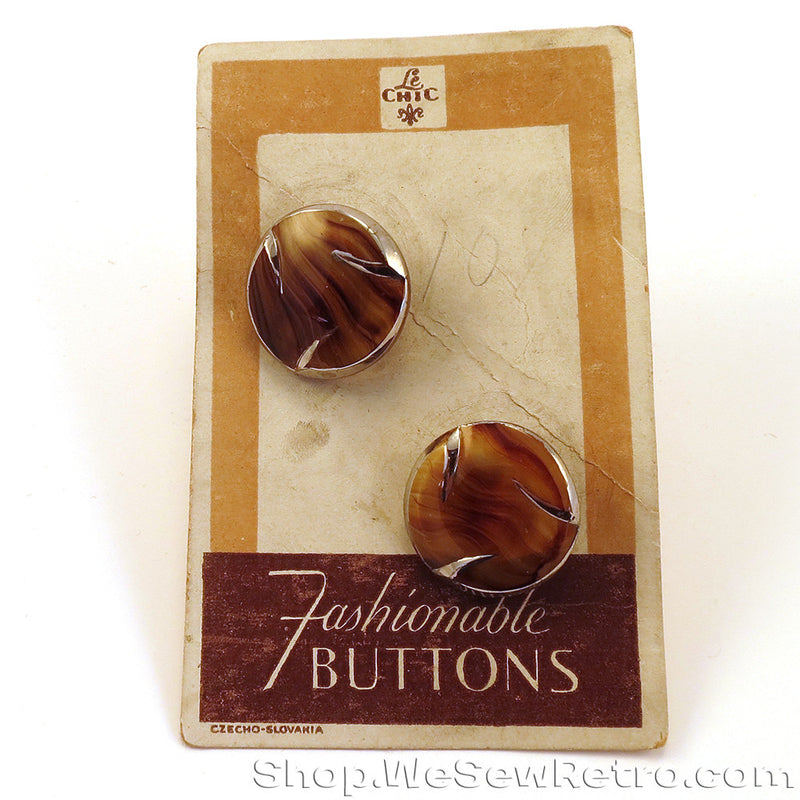
Buttons & Fasteners

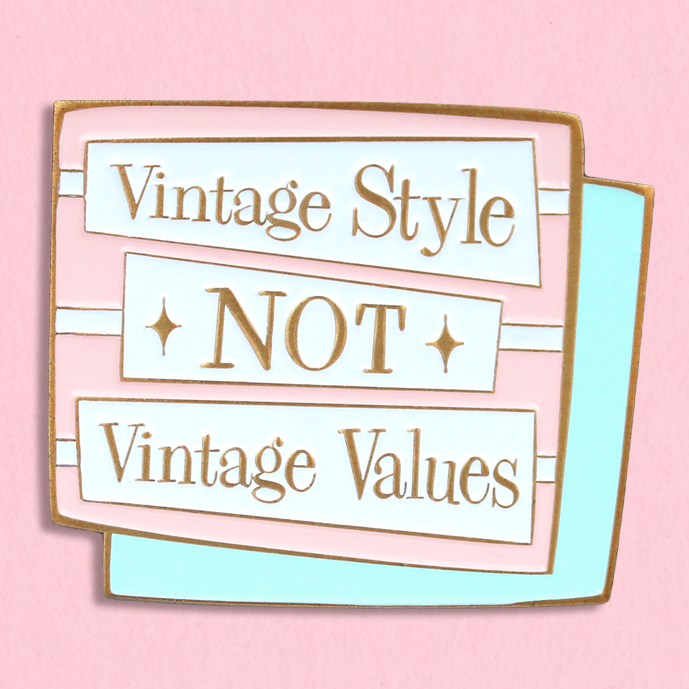
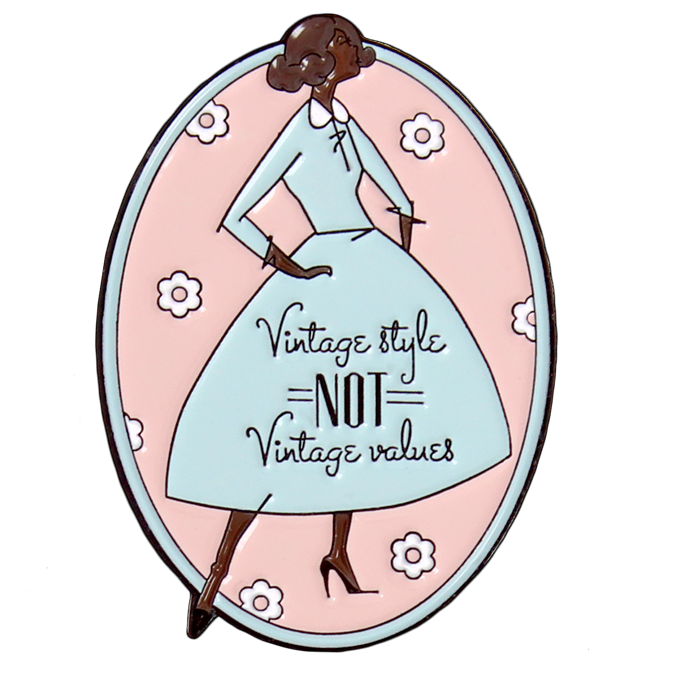
Vintage Style Not Vintage Values
Gifts & Treats

Sale
Sale
About Us
We Sew Retro is a community who adore vintage patterns, vintage fabric, and vintage style.
In our shop you will find select vintage reproduction sewing patterns, genuine vintage sewing patterns, and contemporary sewing patterns from independent designers we love.